Incorporating UTM parameters into your Google Ads campaigns is a critical task to meticulously monitor and evaluate the efficacy of your promotional efforts. These parameters promote the gathering of invaluable insights related to user behavior, referral sources, and the efficacy of your ads.
Understanding UTM Parameters in Google Ads
UTM parameters, also known as Urchin Tracking Module parameters, are added to the URLs of your advertising campaigns for the purpose of tracking and analysis. These labels are employed to gather information regarding the origin, medium, campaign, term, and content of the traffic created by your advertisements. UTM parameters promote understanding of the first marketing channels and campaigns that are pushing the highest flow of traffic and conversions to your website.
Google’s Auto-tagging Feature for UTM Parameters
Google Ads presents an auto-tagging attribute that can automatically attach UTM parameters to your ad URLs, thereby streamlining the process of tracking. This particular attribute is inherently activated as the default setting in Google Ads accounts. By utilizing the functionality of auto-tagging, there is no necessity to manually add UTM parameters to each of the destination URLs, as Google Ads efficiently manages this task on your behalf. Nevertheless, if you need affinity for putting greater power to your UTM parameters with your exact specifications, the alternative of manual tagging remains as an option.
Google Ads Editor for Efficient Bulk UTM Parameter Addition
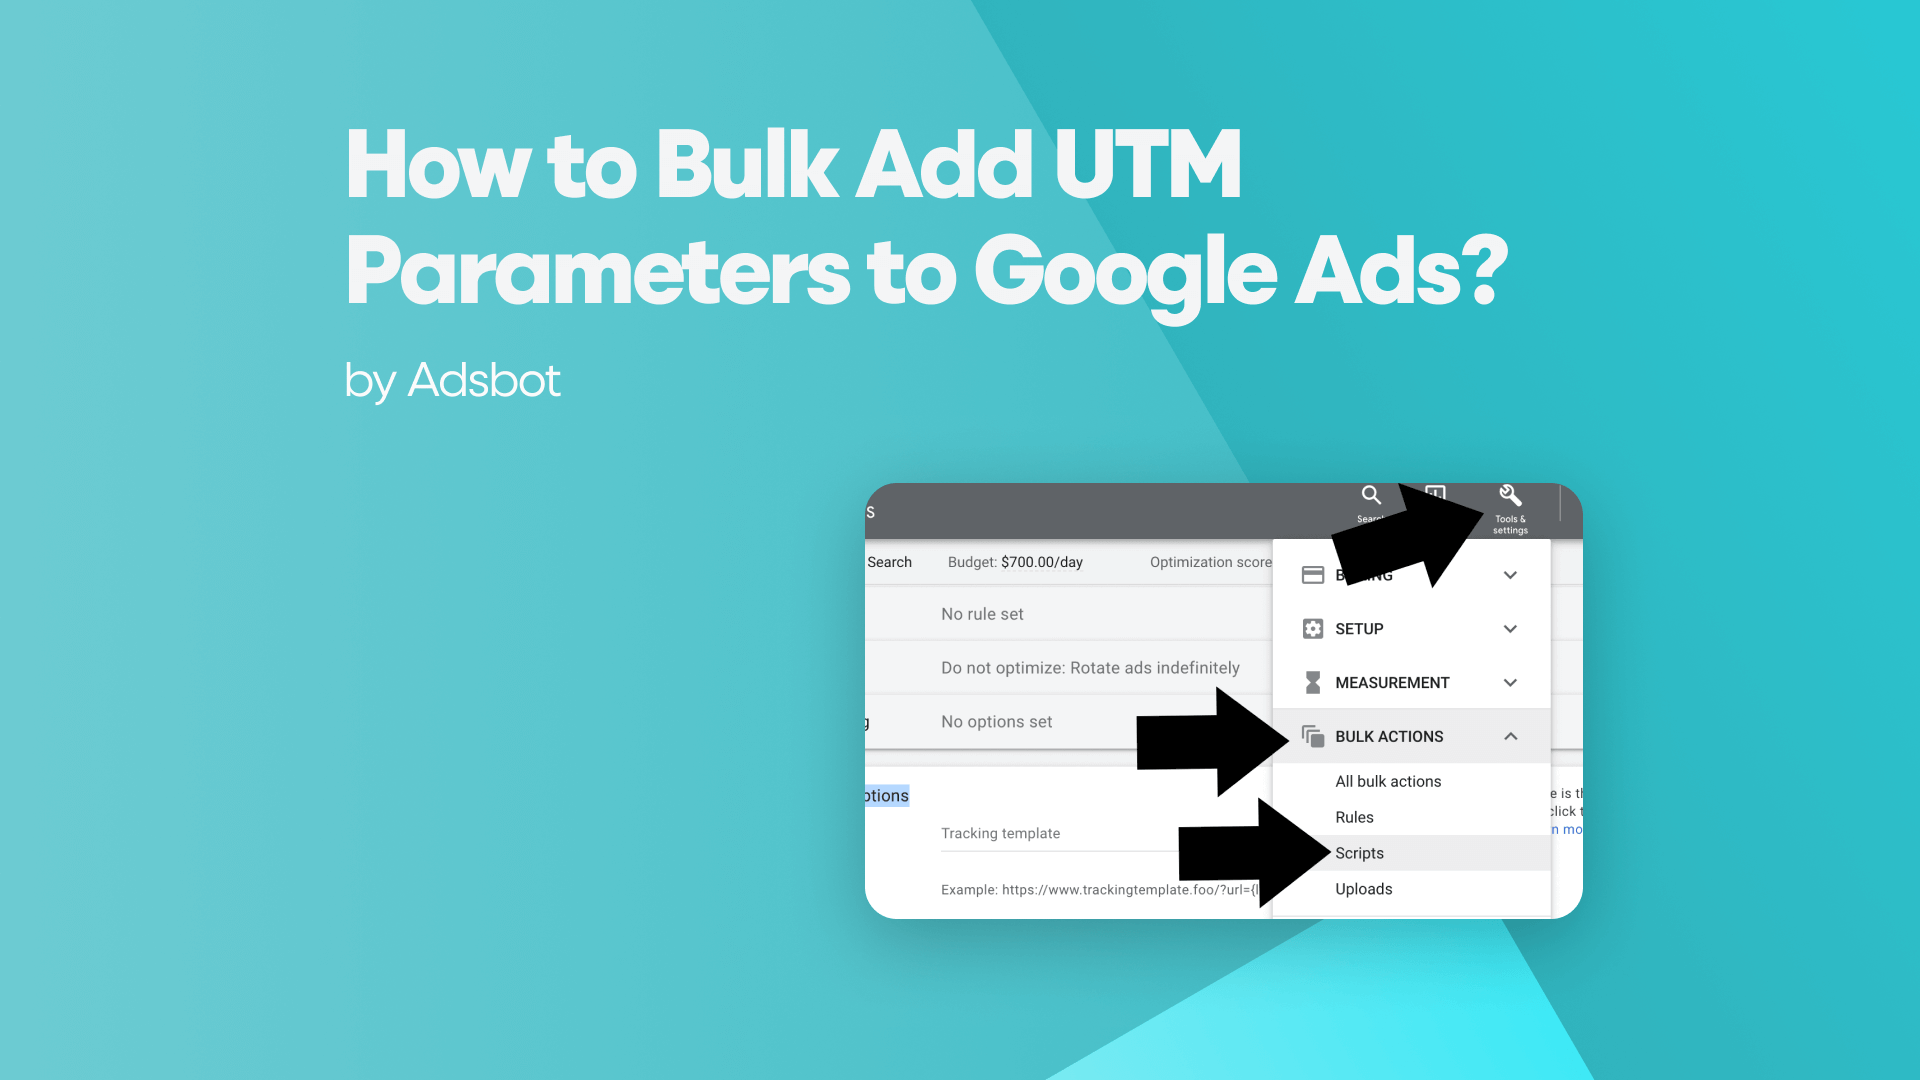
In order to effectively administer your UTM parameters within Google Ads, it is important to adhere to a carefully structured process. Start the process by getting and putting the Google Ads Editor in your personal computer, provided that you have not yet done it. Upon successful installation, start the activation of the application and proceed to unveil the designated Google Ads account that you intend to engage with. In the realm of Google Ads Editor, go to the esteemed “Keywords and Targeting” tab, which has the desired set of features.
Here, you have the effortless ability to designate the particular advertisements upon which you desire to place UTM parameters, all with the convenience of the option to select multiple ads simultaneously. In the designated “Final URL” field, add your intended URL of arrival, with the UTM parameters you want, so as to guarantee careful monitoring and comprehensive examination. Upon carrying out these modifications, be sure to select the “Post Changes” option in order to implement them within your Google Ads account.
Popular Posts
-
How Many Keywords Should Be In an Ad Group in Google Ads?
For the vast majority of modern campaigns, the ideal number…
Read more -
Google Ads Script for Dummies: An Introduction
Imagine you have an e-commerce website that sells licensed superhero…
Read more -
Google Ads Sitelink Character Limits
Your Google Ads are cutting off in the middle of…
Read more -
What Is Conversion Value in Google Ads?
What if you could put a price tag on every…
Read more
Register for our Free 14-day Trial now!
No credit card required, cancel anytime.


